Editorial — Published 2026-09-28 — By Wangzian, Pet Lifestyle Curator
How to Clean a Cat Cone Without Losing Protection
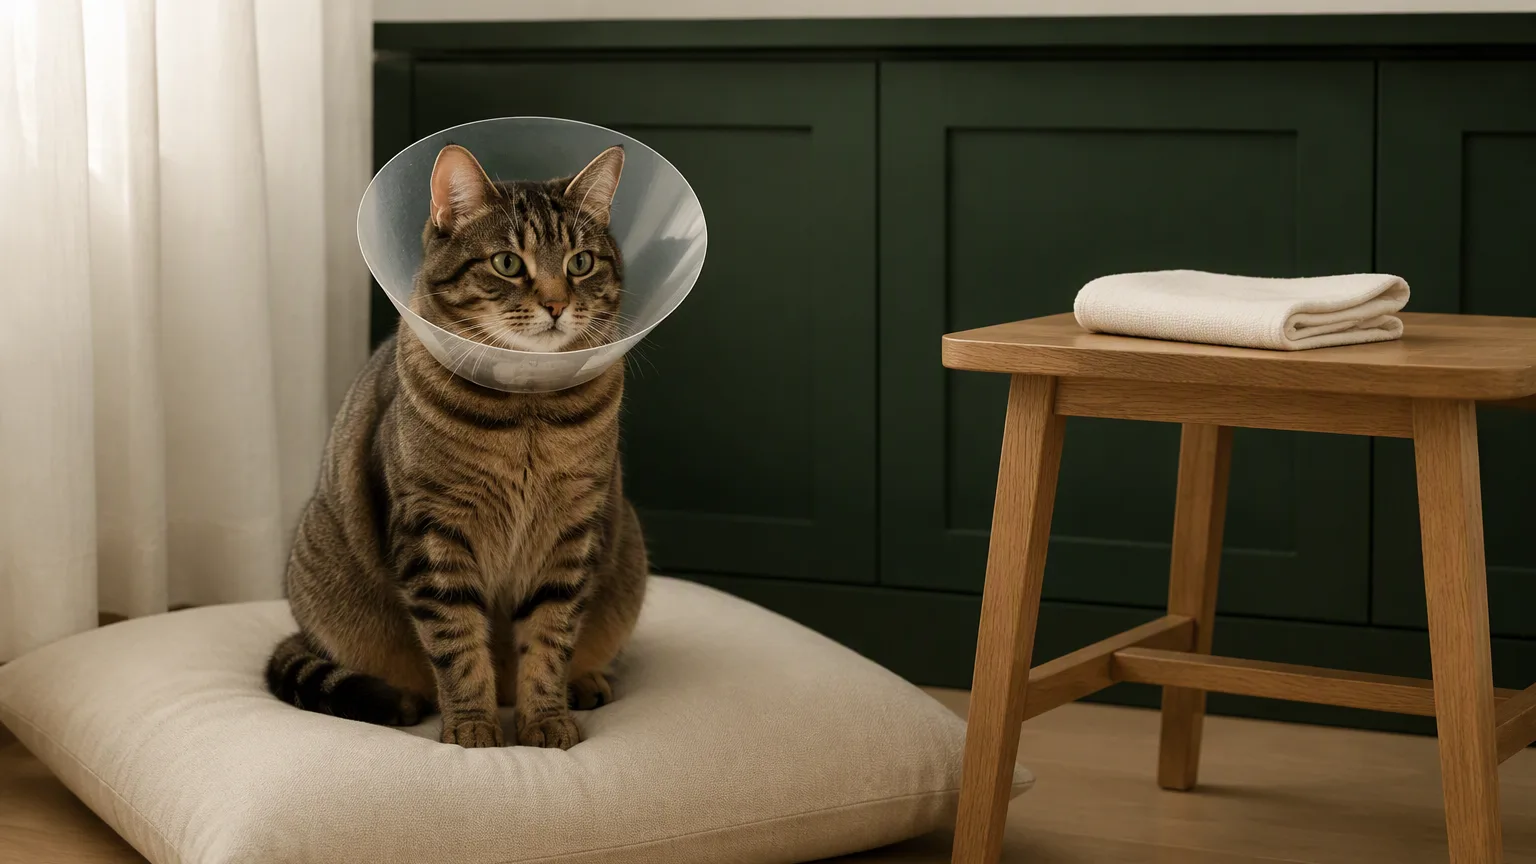
To clean a cat cone, follow the care instructions for that specific collar and keep your cat's prescribed protection in place. If cleaning requires removal, ask your veterinary team how to do it safely; do not leave your cat unprotected while you wash the collar.
How to clean a cat cone starts with the care label
A rigid plastic cone and a padded fabric collar should not automatically receive the same treatment. Before using a cleaner, identify the collar and find its care instructions. If the clinic supplied an unmarked cone, ask the clinic rather than borrowing instructions from a similar-looking product online.
Have the permitted cleaning materials ready before handling the collar. Work somewhere your cat can be safely supervised, with the discharge instructions available. Cleaning the device is separate from treating the wound. Do not use this guide to put cleaning liquid onto skin, dressings or an incision.
VCA's cat-care guidance says to keep the collar clean and free of debris and check it at least once a day for neck irritation or abrasions. That number describes a check, not a rule to remove and wash the collar daily. Visible dirt may need attention when noticed; a clean-looking collar still needs checking around the neck.
A manufacturer's example, not a universal washing recipe
All Four Paws describes its Comfy Cone as a foam-backed, padded nylon collar for dogs and cats. Its own product page says the water-resistant material is easy to wipe clean with soapy water and a sponge. This is a specific manufacturer's instruction, not a method we tested or a recommendation to buy that brand.
The details matter. A wipe-clean instruction does not establish that a collar is machine washable, safe to soak or suitable for a particular disinfectant. The page does not give a soap concentration, contact time or measured germ-reduction result. We therefore do not invent those numbers. Follow any more detailed label supplied with your own collar, or ask its maker and your clinic to clarify.
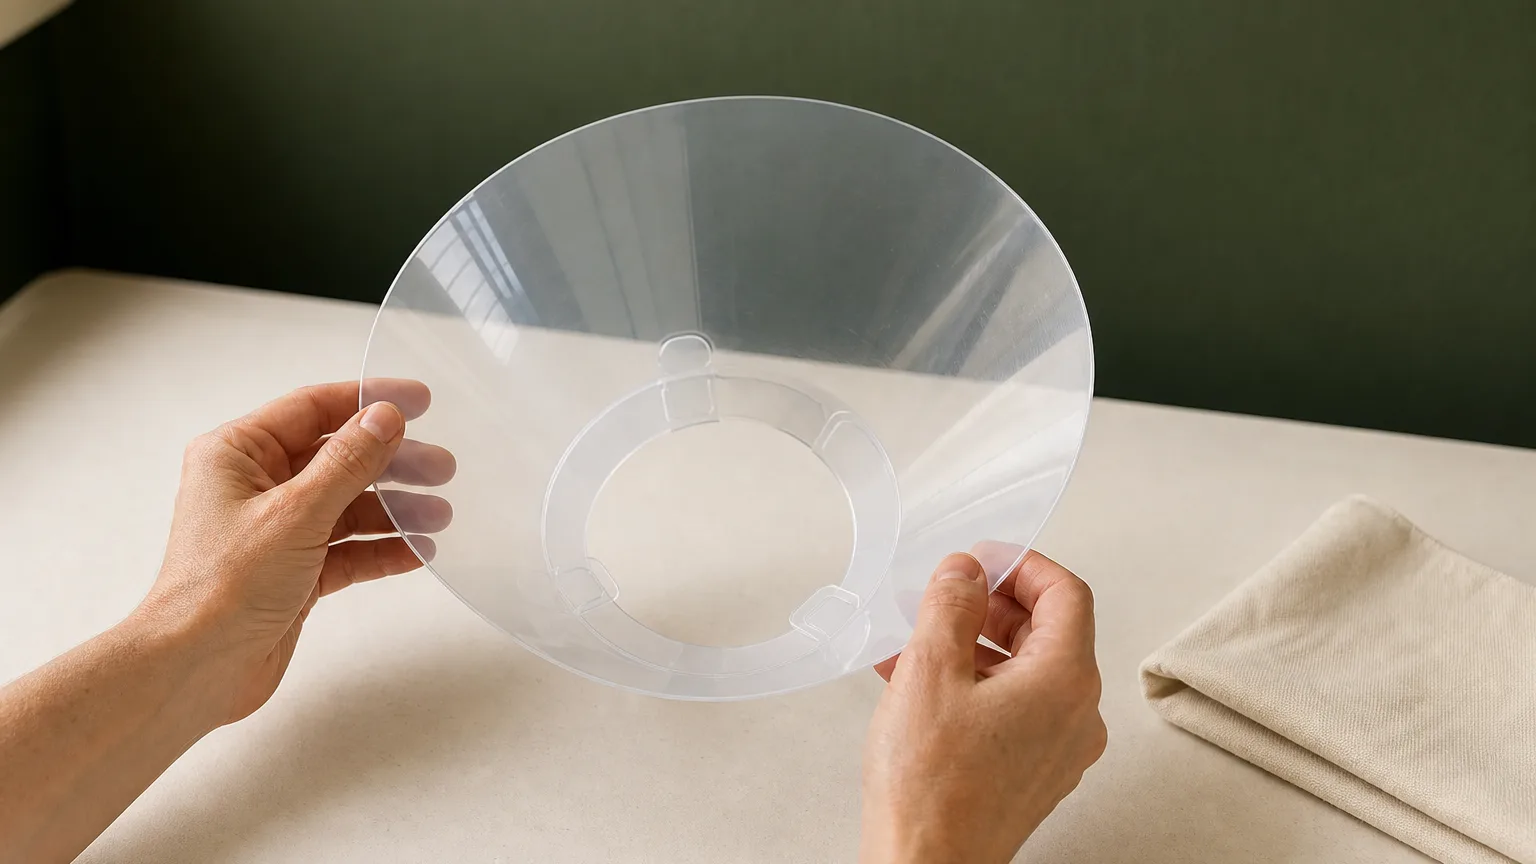
For an unknown plastic collar, that fabric-product instruction is not your instruction. Similarly, a listing's word “washable” leaves questions unanswered. Confirm the method, any removable components, and drying requirements before starting. Do not dismantle supportive parts or change the protective shape simply because another product allows it.
Plan for uninterrupted protection
VCA generally advises against removing a cat's collar because replacing and positioning it correctly can be difficult. It allows exceptions under veterinary advice and close supervision. If you cannot clean it safely while worn, tell the clinic which part is dirty and ask for a practical plan.
Do not assume that standing nearby will reliably prevent licking. Ask whether a clinic-approved spare or help at the clinic is appropriate if thorough cleaning is needed. This is a question to arrange with the treating team, not blanket permission to swap devices. The replacement must still protect the particular area your cat must not reach.
VCA's separate dog guide explicitly discusses keeping both sides clean and using a damp cloth. That is useful context for what maintenance includes, but its removal instructions are written for dogs. They do not override the cat-specific guidance or your own discharge plan. We do not transfer a dog's cleaning routine to a cat without that distinction.
Check the surface, the edge and the neck separately
Use the following checklist to describe what needs attention. It is an editorial inspection aid, not a clinical test or a validated cleaning protocol. Inspect only what you can see safely; do not force your cat's head into a position for a better view.
| Area | Observation to make | Next step |
|---|---|---|
| Inside surface | Food or other visible debris | Use the permitted cleaning method; ask for help if access is unsafe |
| Outside surface | Dirt left after contact with the surroundings | Check the collar's care instructions before choosing a product |
| Edge and fastening | Damage, looseness or a change in shape | Ask the clinic whether repair or replacement is needed |
| Neck contact area | Redness, rubbing or an abrasion | Contact the veterinary team about fit rather than scrubbing the skin |
After the approved cleaning method, follow the collar's finishing and drying directions. Check that its fastening still holds as the clinic demonstrated. A collar that looks cleaner but no longer stays in position has not solved the care problem. If you cannot put it back correctly after an authorized removal, VCA advises contacting the veterinarian immediately.
Do not shorten, fold or tape over a damaged edge as an improvised repair. Ask the clinic what to use. A product photograph cannot establish whether a different collar will keep your cat away from its wound.
Make the handover specific
When more than one person helps, record the task rather than writing only “cone done.” A sample entry could read: “Checked inner surface after food; cleaning method confirmed with clinic; next caregiver to inspect neck contact.” This is an example of useful wording, not a report of a patient we treated.

Keep questions for the clinic beside that note. Persistent rubbing, damaged fastening or difficulty maintaining protection needs veterinary advice, not repeated experiments with cleaners. If food repeatedly collects inside, our guide to helping a cat eat with a cone covers access to meals. Our veterinary-visit guide helps prepare for an appointment.
The care product range is a browsing reference, not proof that any particular collar fits your cat's treatment. Knowing how to clean a cat cone means maintaining both cleanliness and the protection your veterinarian prescribed.
Questions before cleaning
Does the daily check mean I should wash the cone every day?
No. VCA's recommendation is to check at least once a day for neck irritation or abrasions. Keep visible debris under control using the collar's own care instructions. The check is not permission to remove a prescribed collar daily or to choose a washing method without checking its label.
Can I use the same cleaning method for plastic and fabric collars?
Not automatically. Confirm the method for the collar you actually have. The manufacturer's soapy-water-and-sponge example discussed here applies to its specific padded nylon product. It does not establish that other collars tolerate the same treatment, machine washing, soaking or a particular disinfectant. Ask the clinic if the instructions are missing.
What if I cannot put the collar back correctly?
Contact your veterinarian immediately if you cannot replace it correctly after an authorized removal. Do not rely on a loose fastening or an improvised modification. Tell the clinic what happened and keep your cat closely supervised while following their instructions about restoring the protection required for the treated area.
Sources and preparation
VCA: Elizabethan Collars in Cats supplies the daily check, removal and refitting boundaries. VCA: Elizabethan Collars in Dogs is used only with its species limitation stated. Both are veterinary guidance, not cleaning-efficacy trials.
All Four Paws: The Comfy Cone supplies the product-specific cleaning example. It is a manufacturer's commercial source; we do not adopt its endorsements or claim independent testing. Sources were accessed September 27, 2026; source-page update dates were not verified.
XueQiu Pets Editorial prepared this guide with AI research and drafting assistance. We conducted no firsthand cleaning trial. The checklist and sample note are editorial tools; all images are AI illustrations, not product-identification evidence or clinical records. The planned file date is not a publication receipt.